Drawing and altering a stays pattern
The original pattern
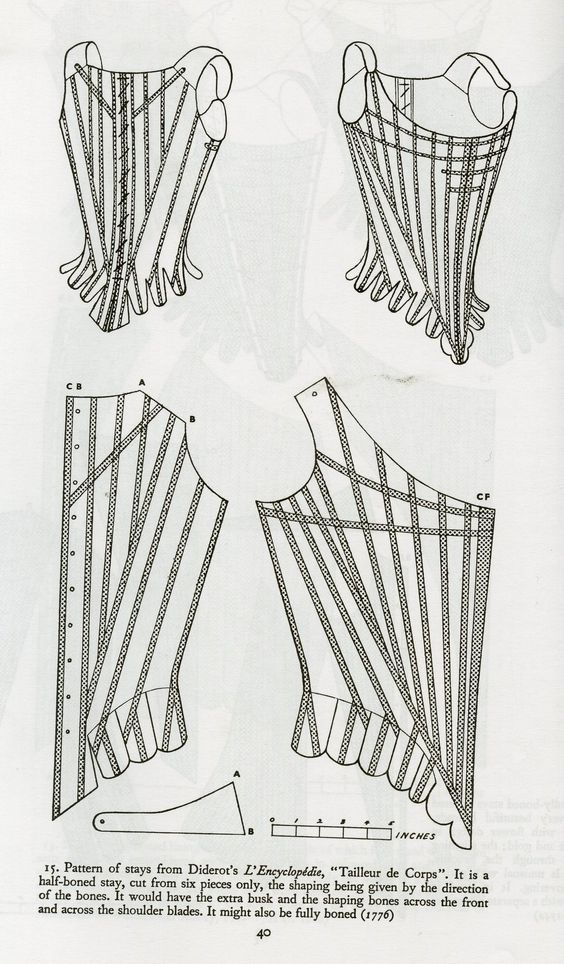
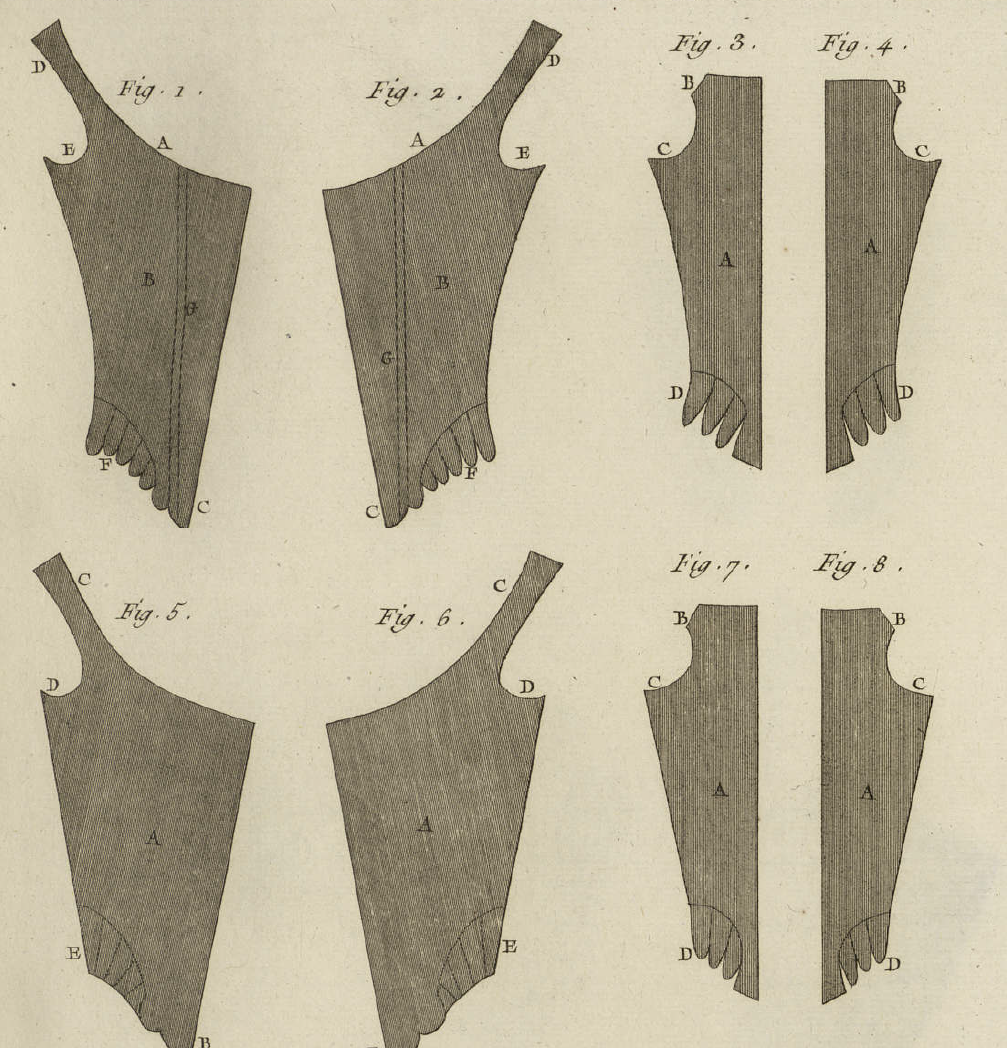
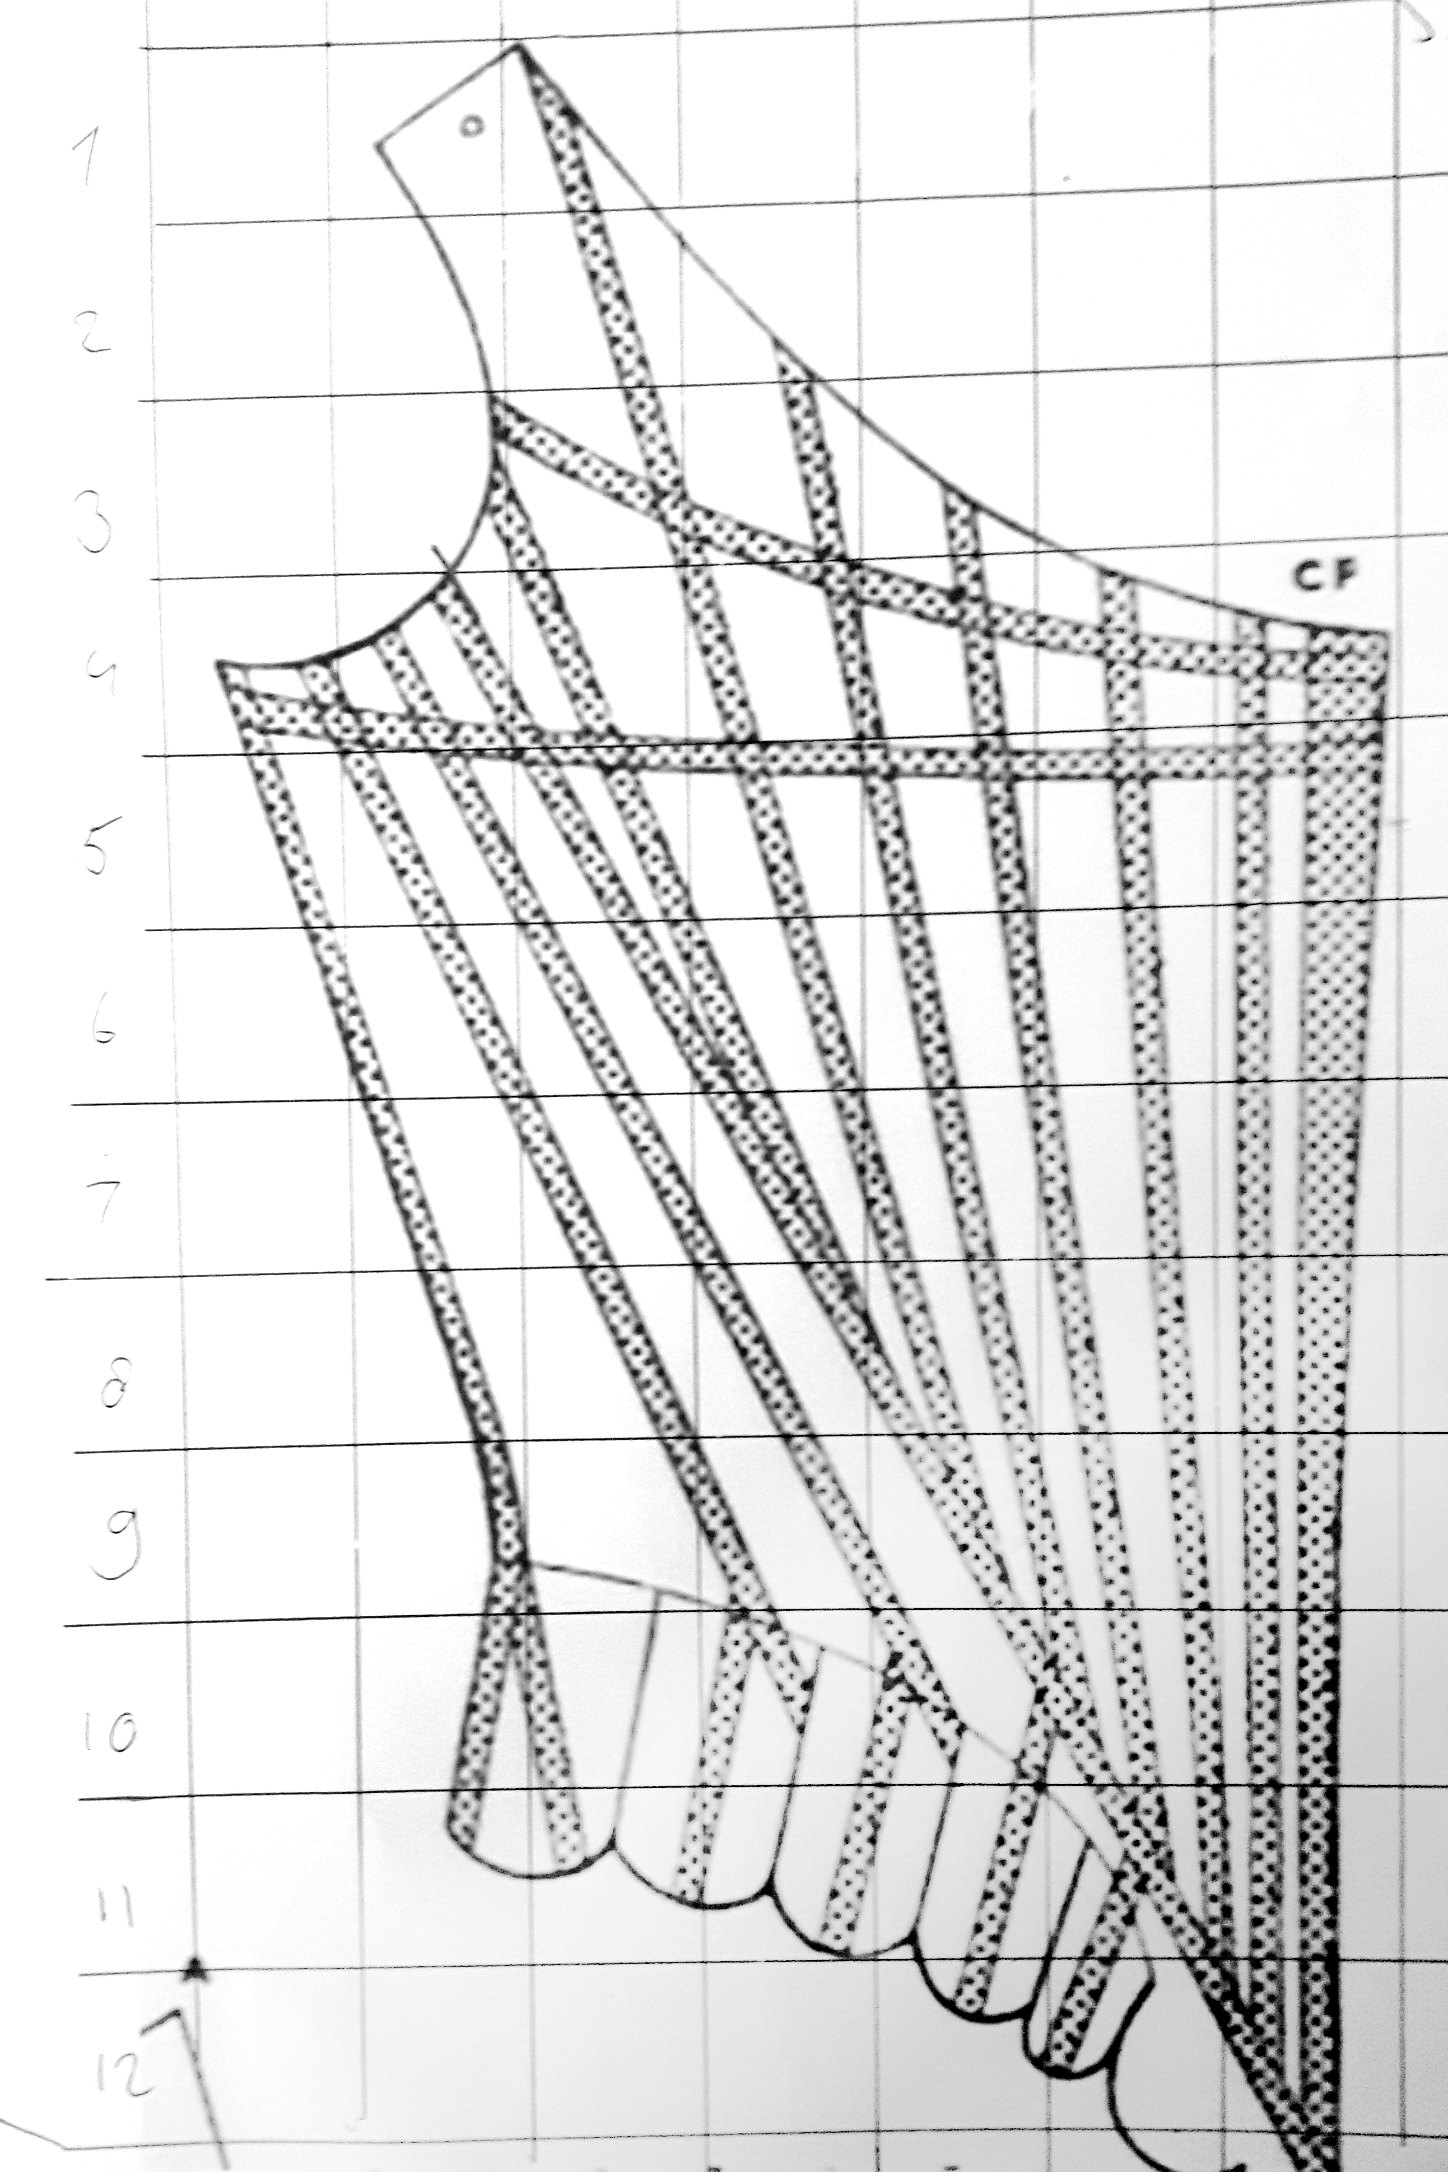
I took this pattern from Norah Waugh’s Corsets and Crinolines as a base. However, as Anna-Carin from 18thcstockholm pointed out, this pattern is a
Enlarging the pattern
But how do you get a
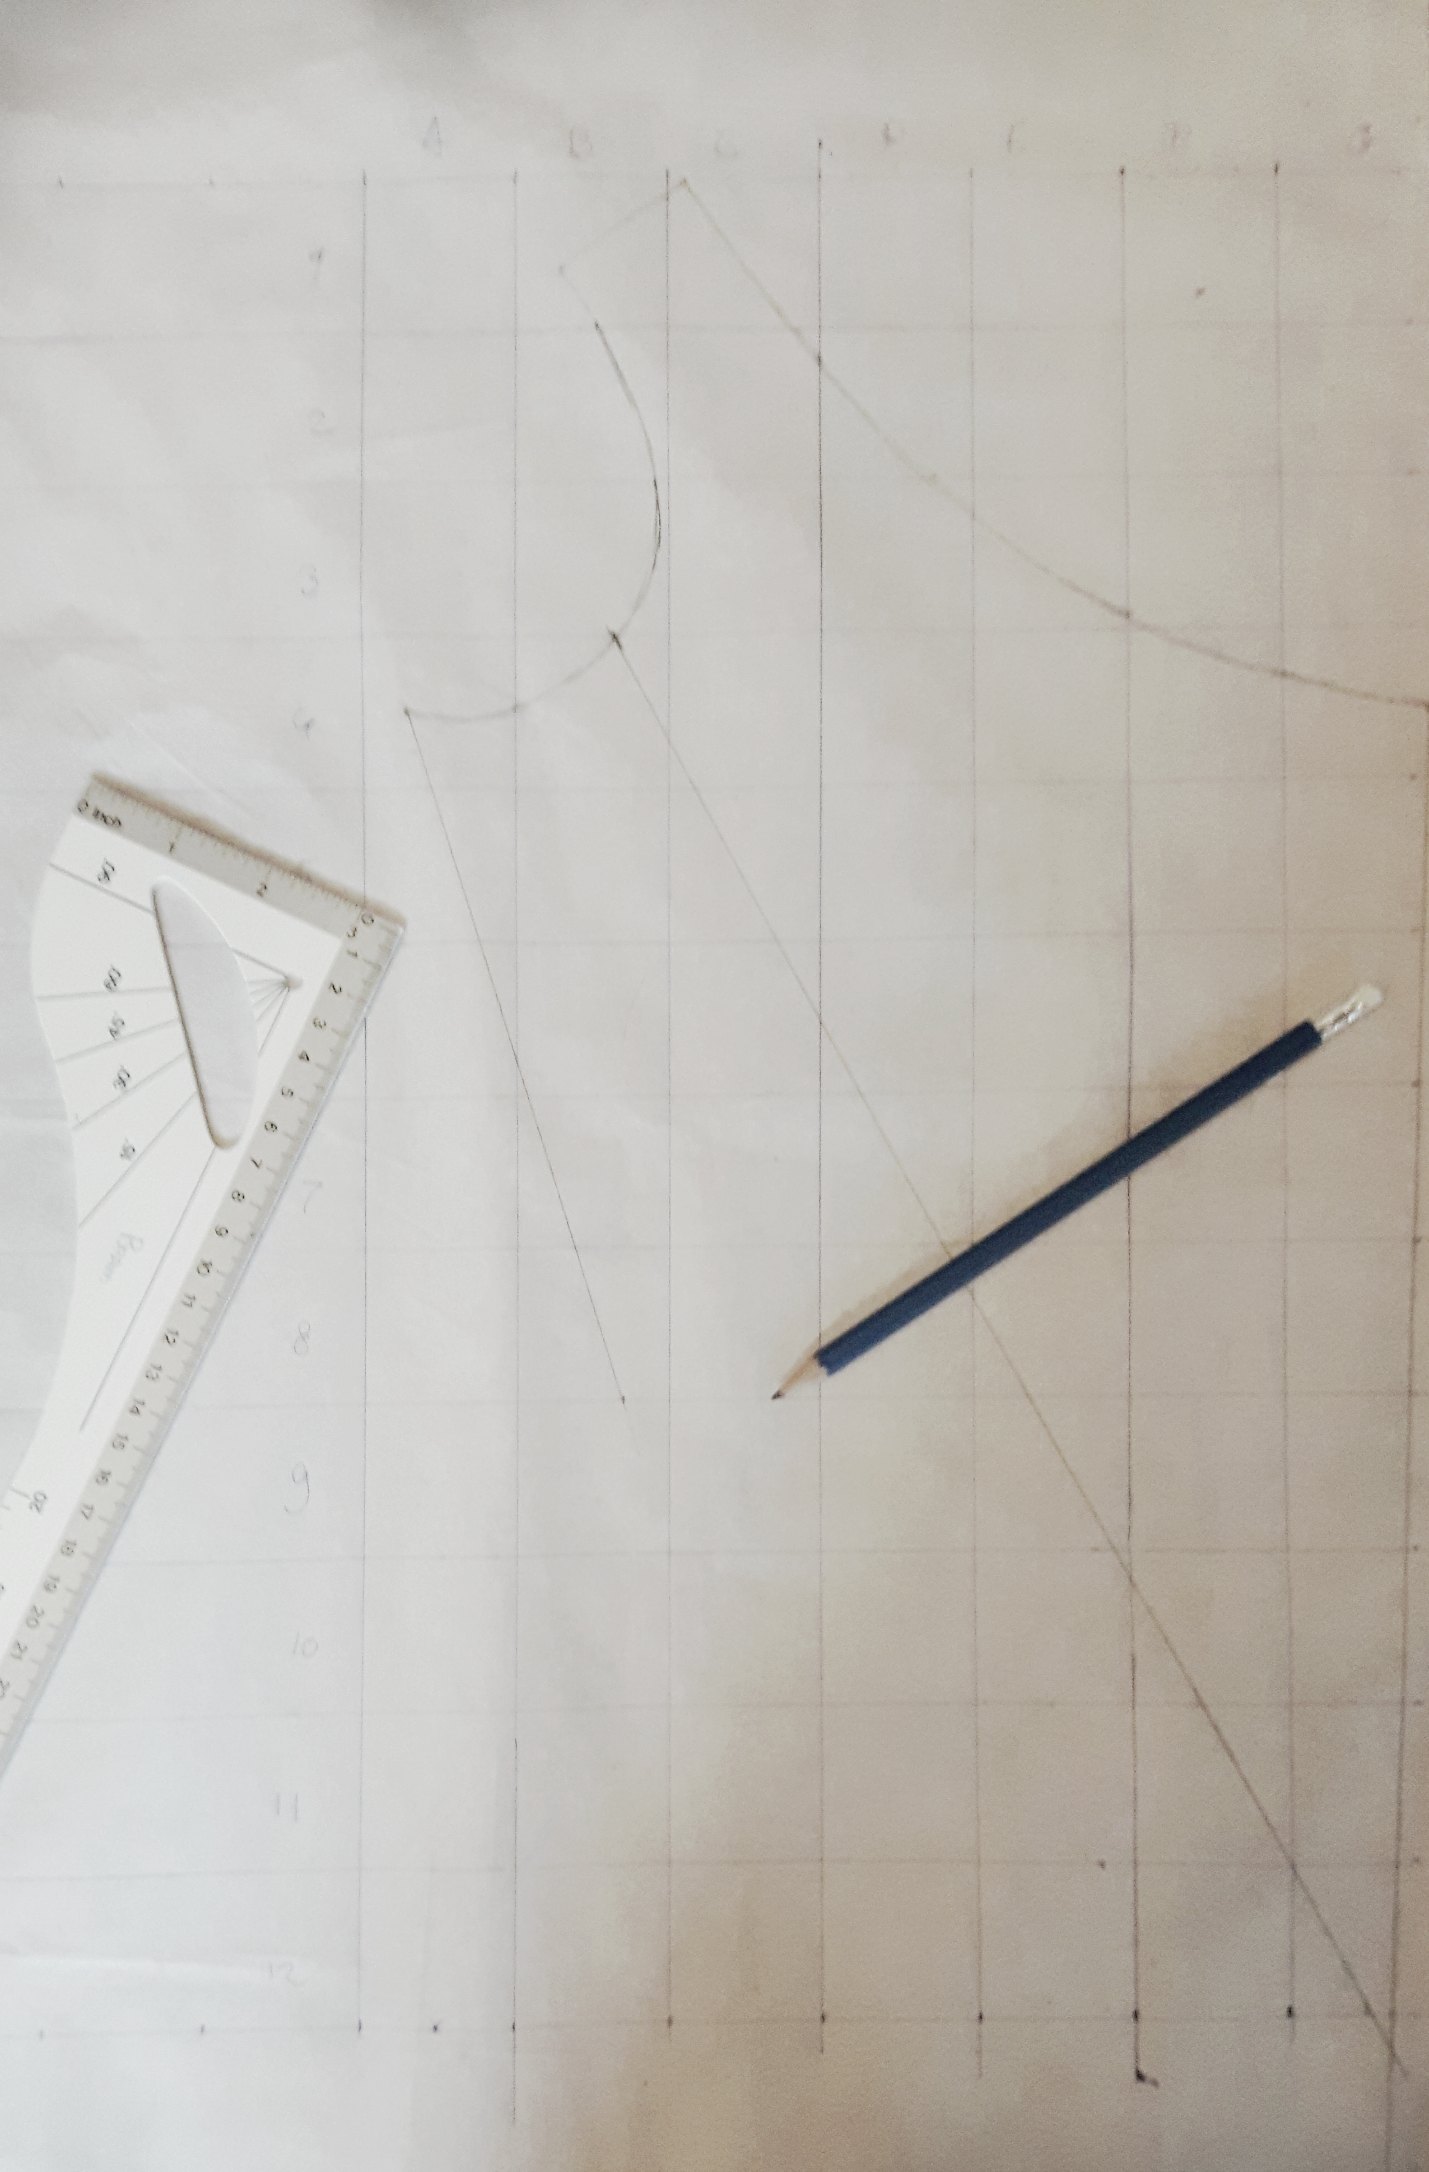
Next, I decided approximately how much the pattern needed to be enlarged. You don’t have to be too precise with this. just take one measurement, for example, the center front length. I decided to draw the pattern two times as large, so I made a grit with 4×4 cm squares. Then, you can copy your pattern by copying the squares one by one. I measured where the lines of the pattern crossed the lines of the grit, and transferred those dots in my larger grit. After
Fitting and Alterations
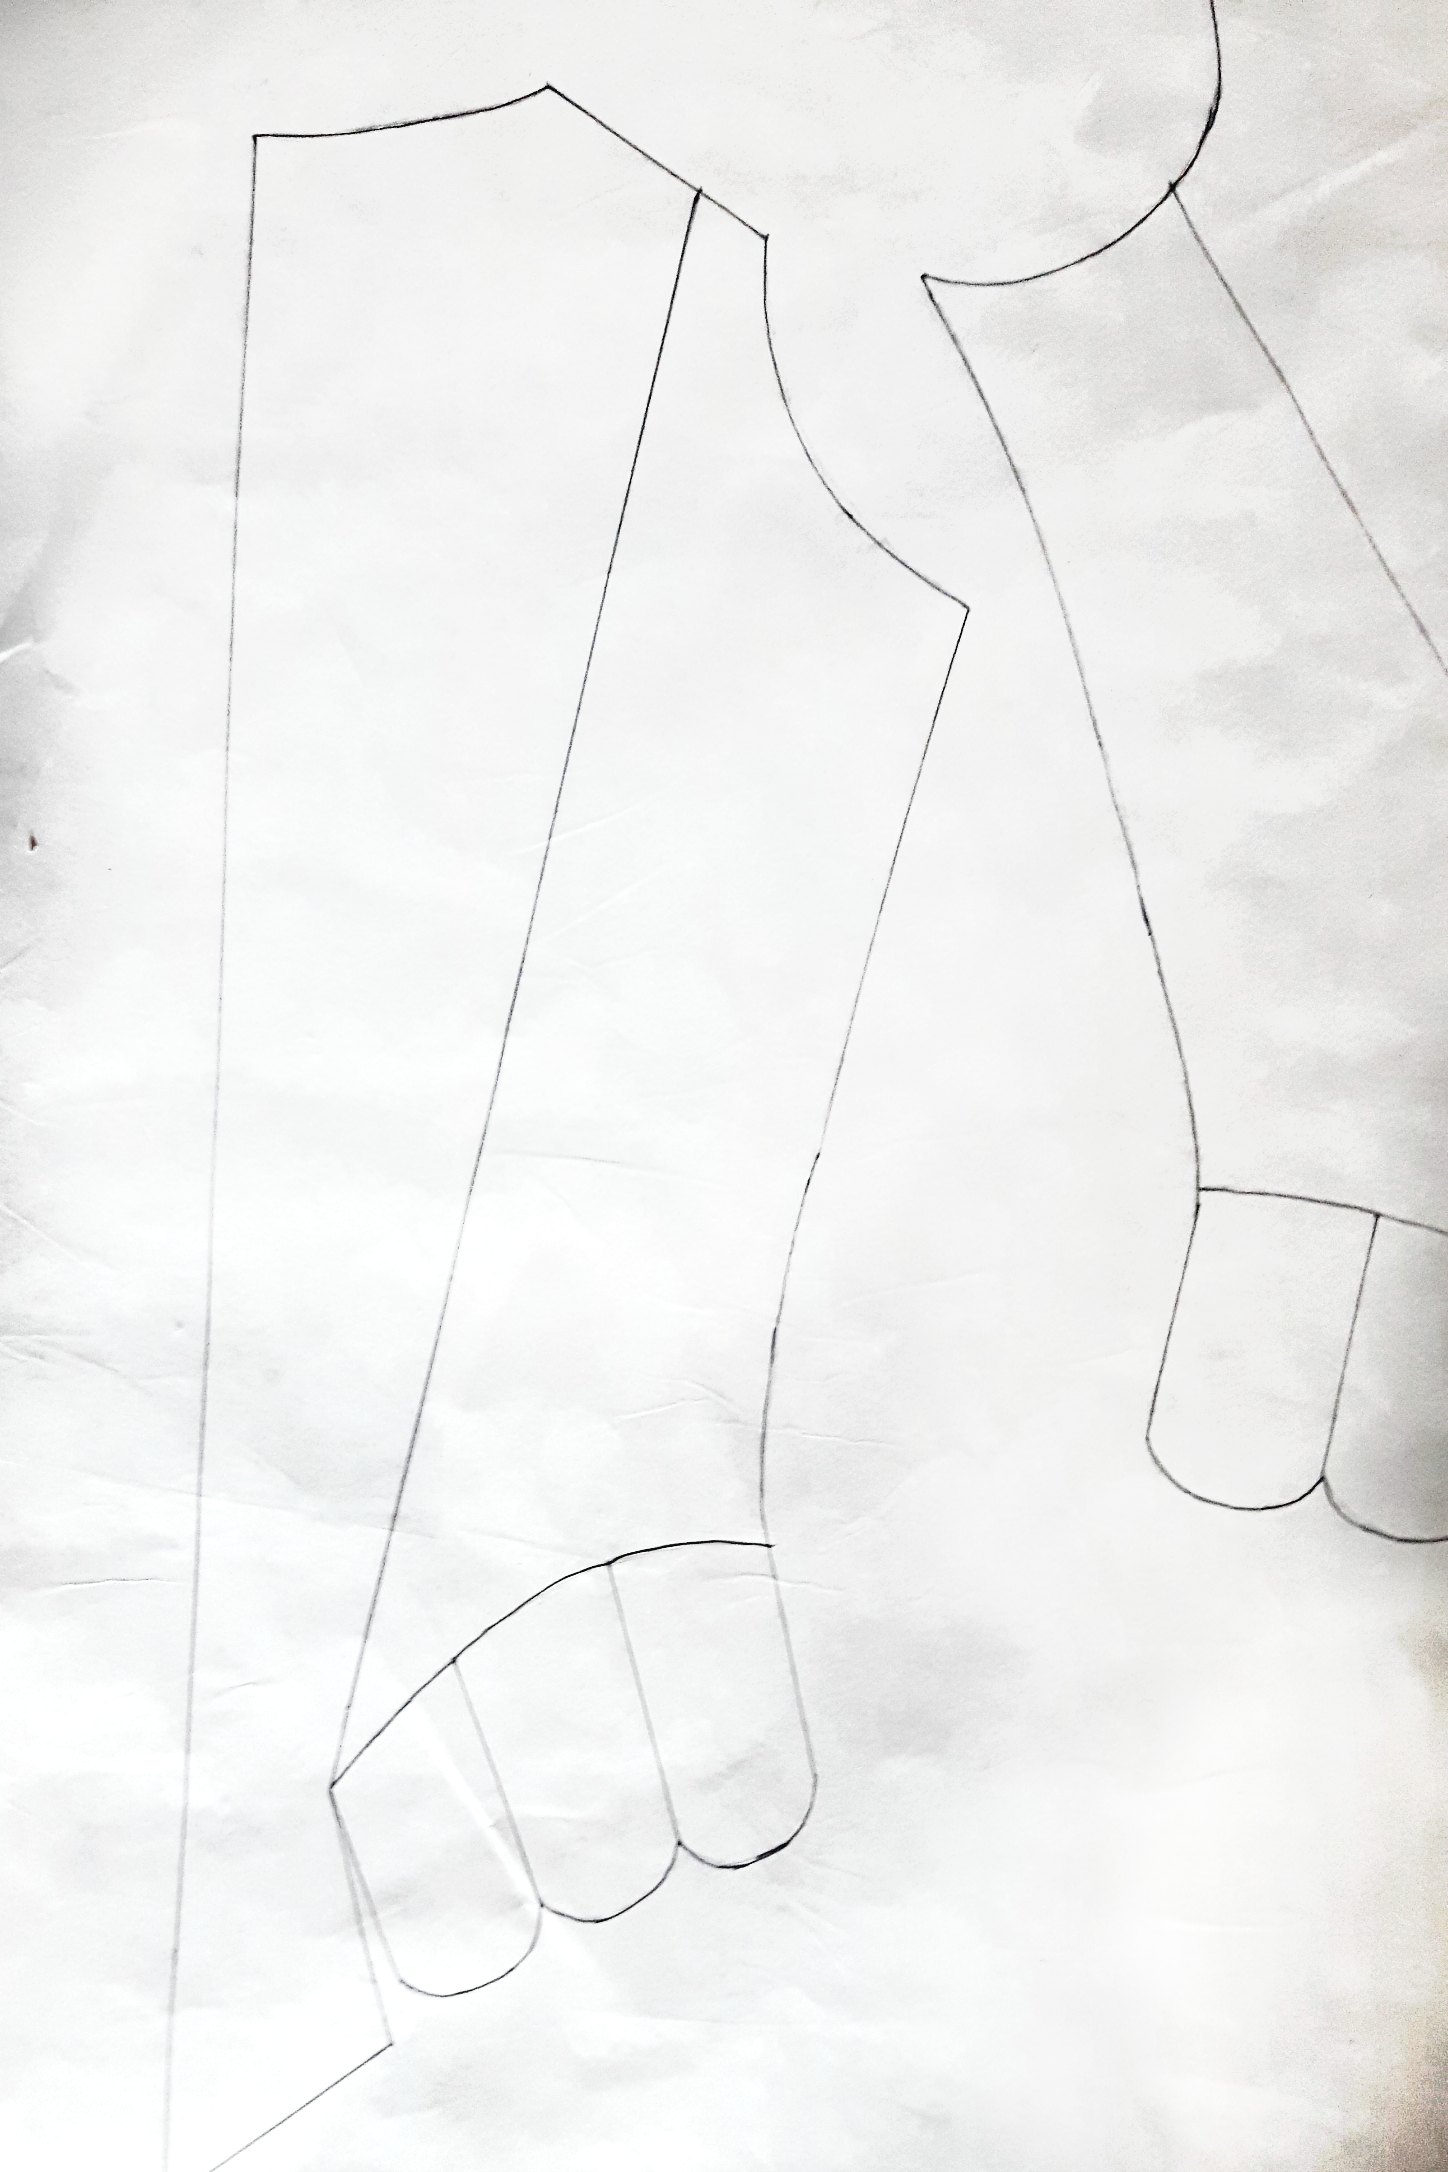
When I had the entire pattern enlarged, I made a few alterations. First, I made the side seam curved, so it matched Diderot’s original stays. I also wanted my stays to be front and back lacing, so I chose to have a 5 cm lacing gap at the back, and a 2 cm lacing gap at the front.
I copied this pattern onto a new piece of paper. Next, I took out my measuring tape and started to compare the pattern to my measurement. I measured the length, waist and bust measurements, and came to the conclusion that the length is pretty good for me, but the waist and bust were about 10 cm too small.
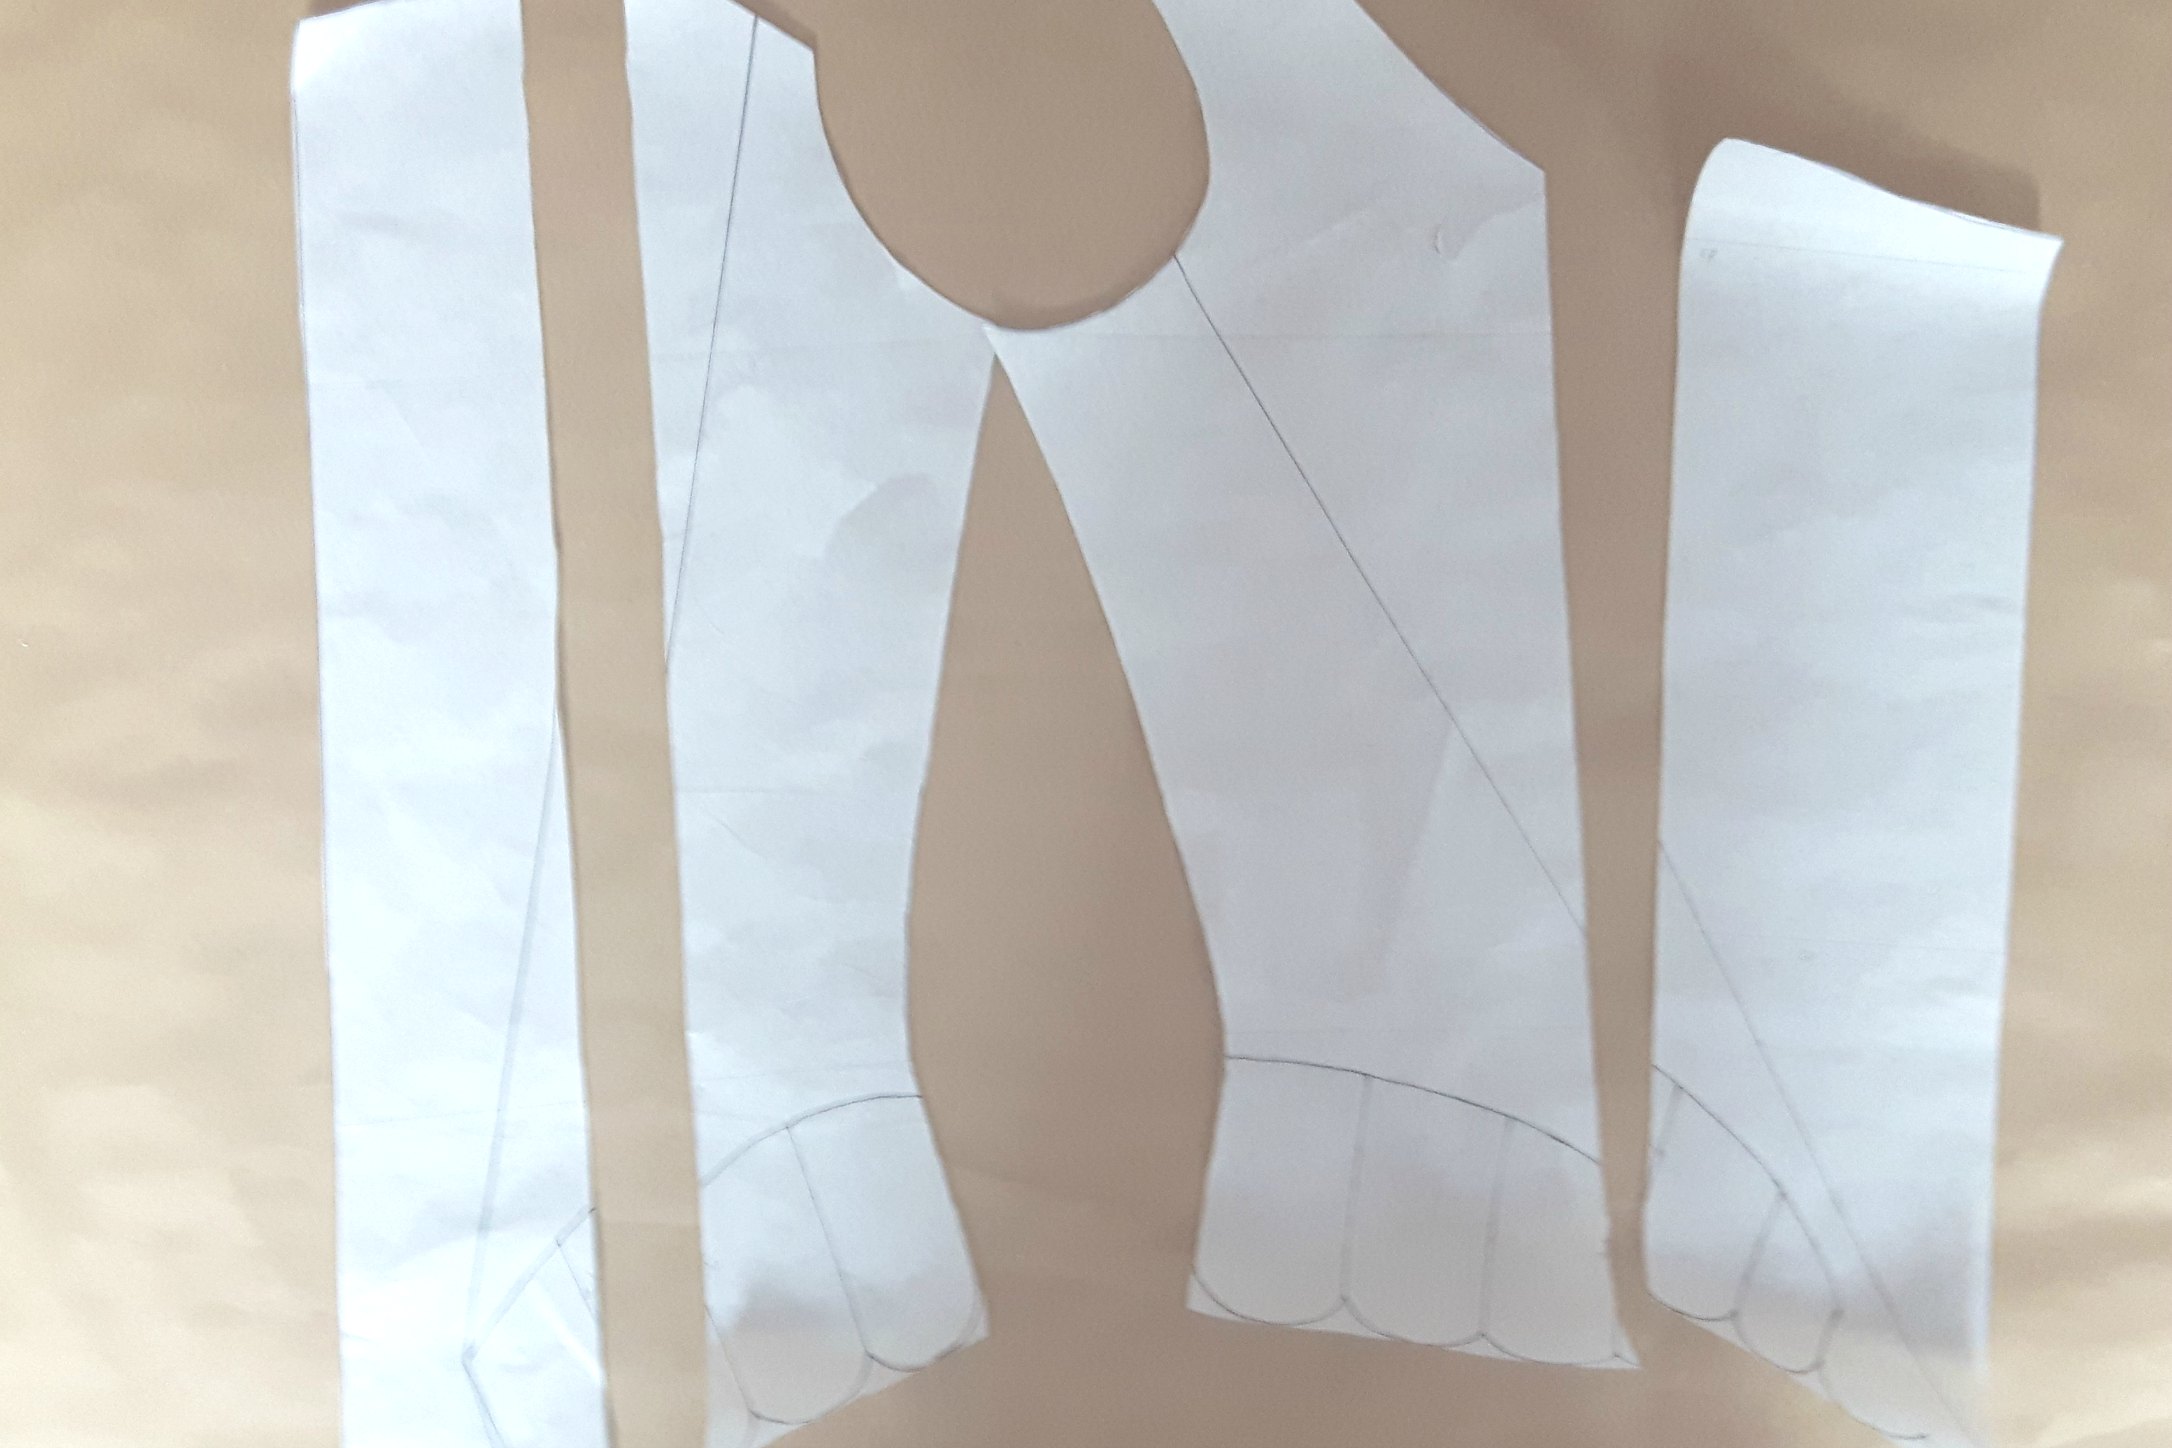
To make the pattern fit me, I used the slash and spread method. These particular stays have 4 pieces (2 front and 2 back pieces). So I divided the amount of space I needed (10 cm) by 4. This means I needed to add 2.5 cm to each pattern piece. So I cut my two pattern pieces in half and spaced them out 2,5 cm. Then I cut around the whole thing, and I had my new pattern. If you need to alter the length of your pattern, you can do that the exact same way, by cutting the pattern pieces in half horizontally. You can also make your pattern smaller this way. Just overlap the parts of the pattern to make it smaller instead of spreading it ou
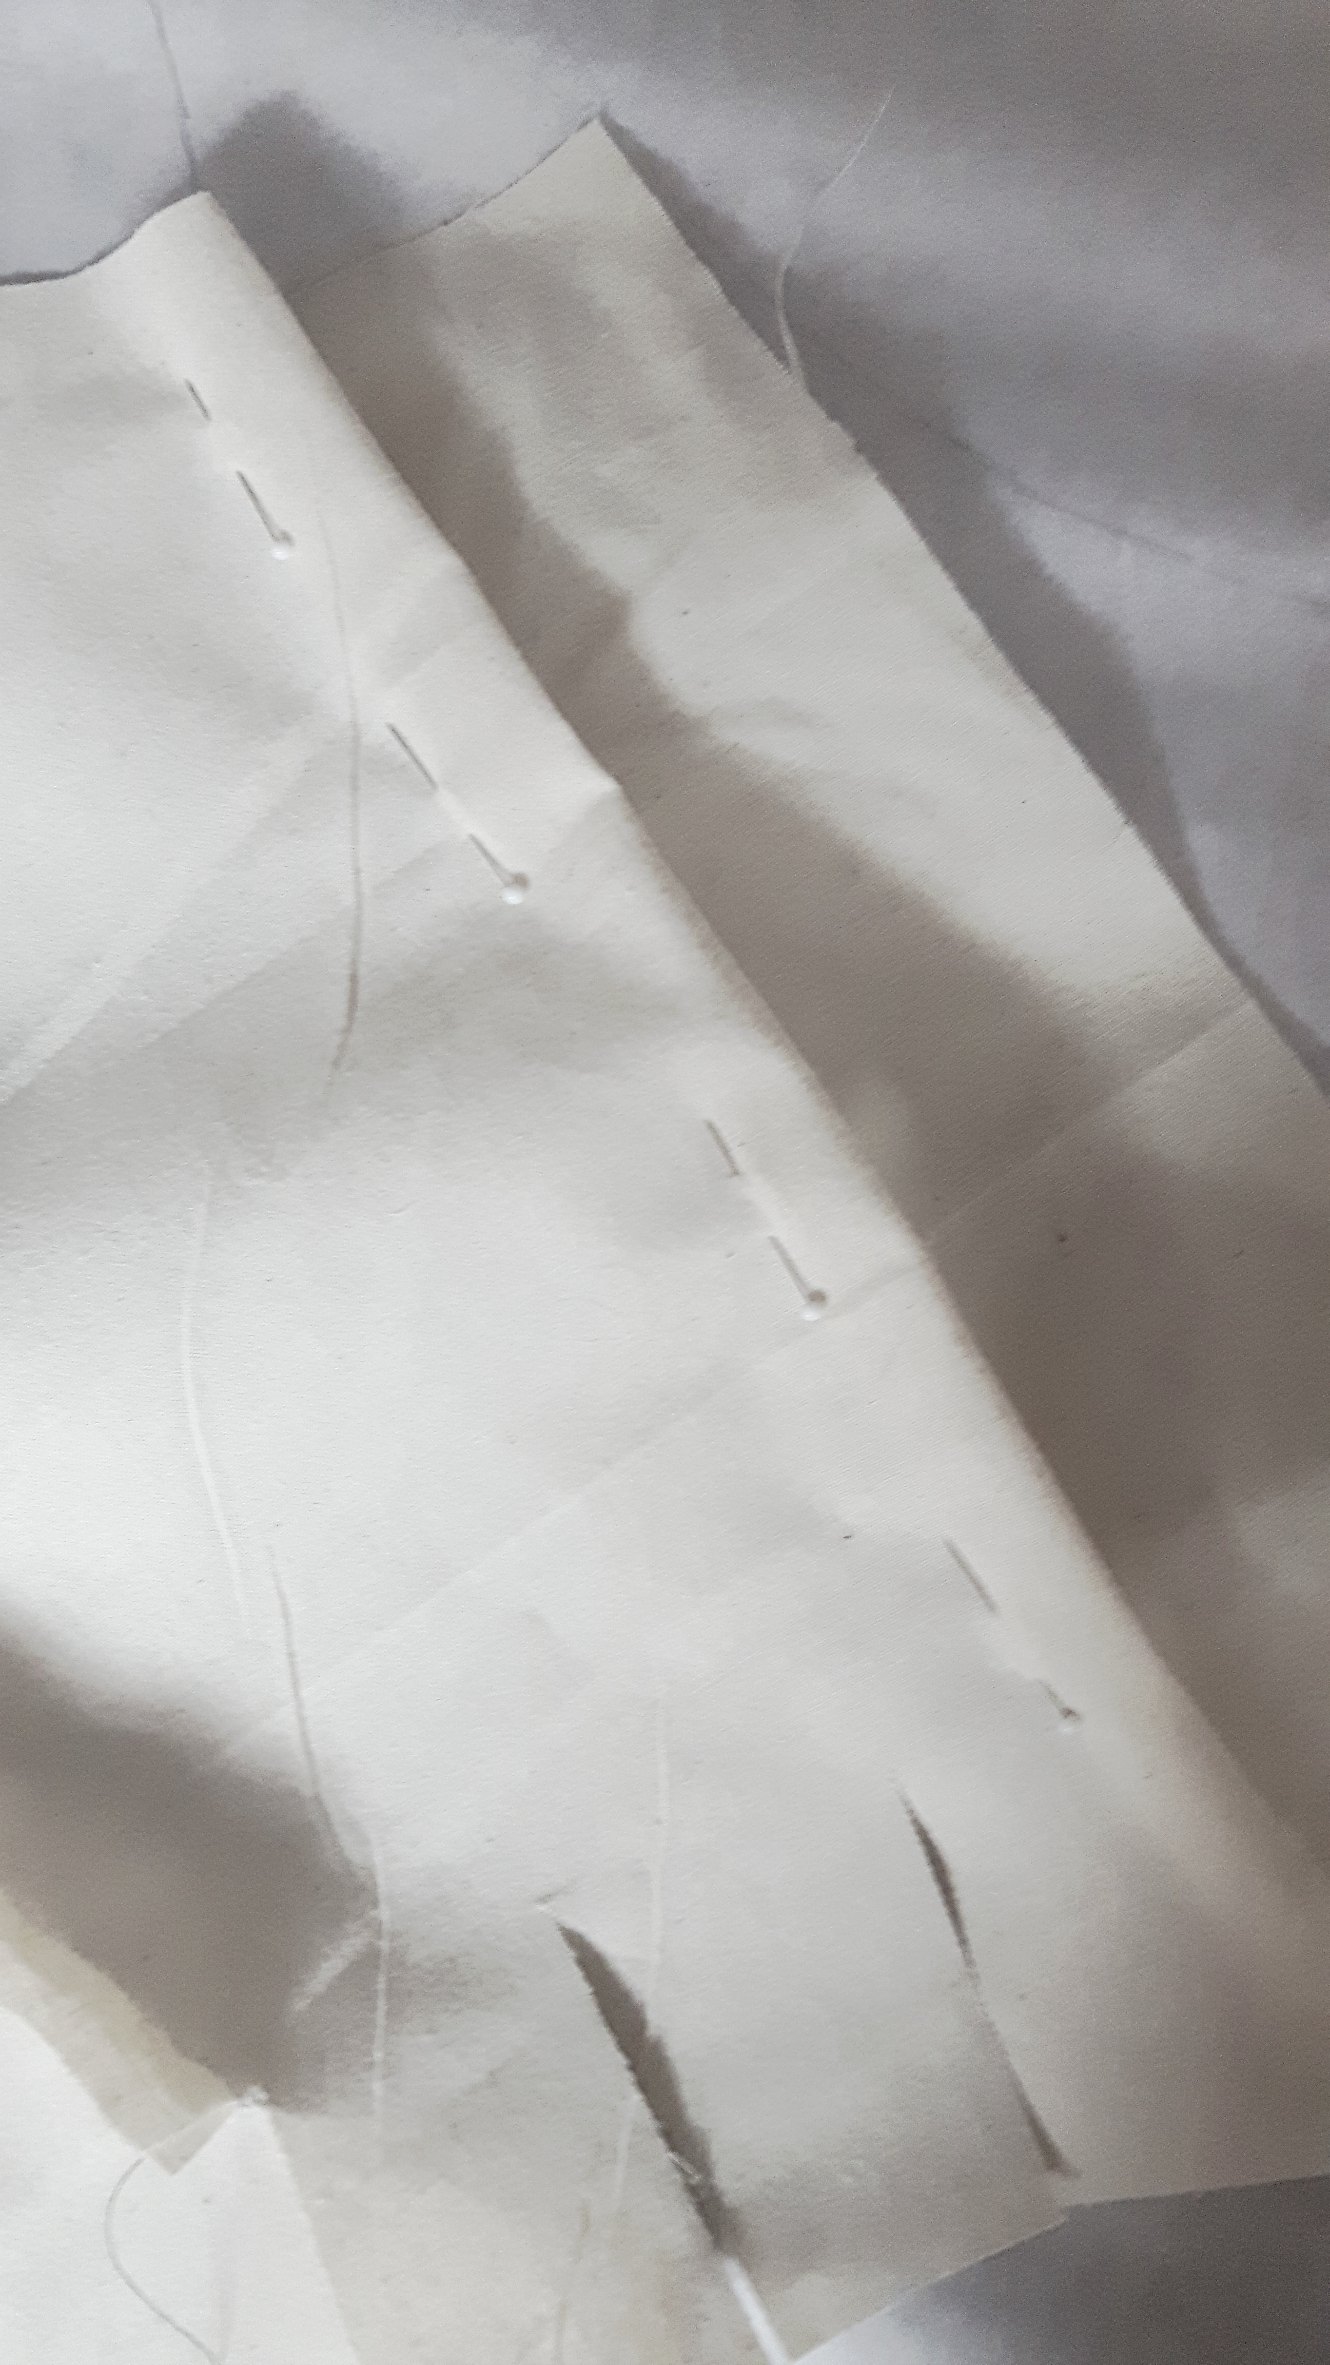
Next it is time for a mock up. I was surprised to see it fit me quite well. I only had a bit to much room in the front. I pinned the stays to fit me, measured the amount I had to take it in, and make a new front panel the exact same way as I described in the last step.
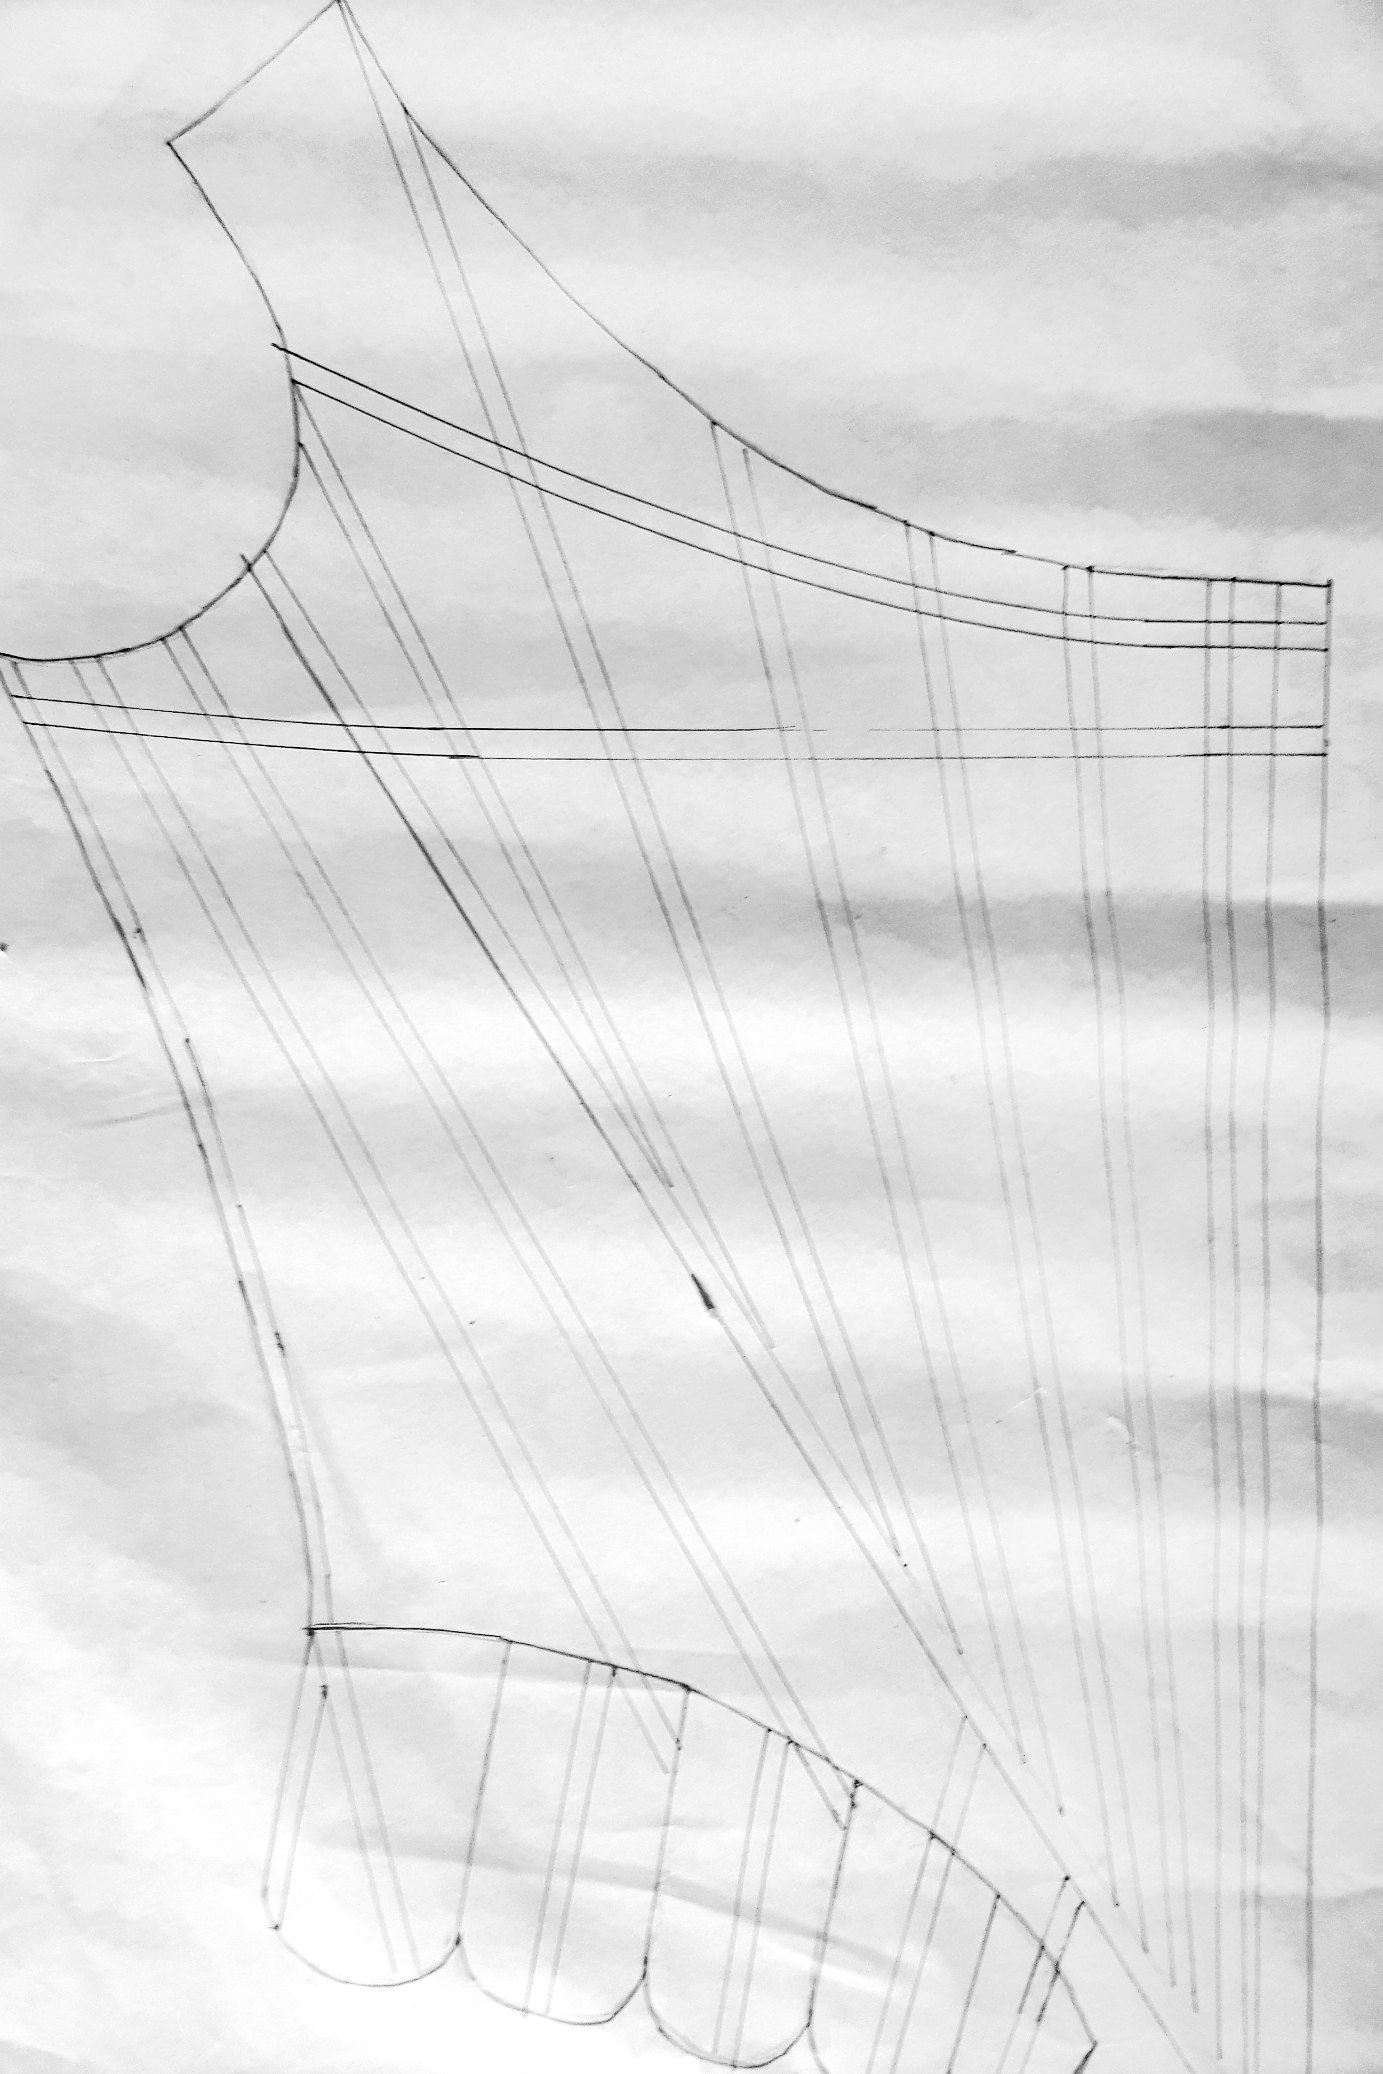
After all that measuring and fitting, The stays pattern is finally complete. So now it is time to draw in the boning pattern. I stayed pretty close to Waugh’s drawing for this one. But depending on how much slashing and spreading you did to alter the pattern, you might need to add or remove a few bones.
Now that the pattern is complete, I can start on constructing the stays. But I will leave that for another blog post.